![]()
Last Updated on July 21, 2022 by Anne-Marie
Wondering when can I open my instant pot? The lid of an Instant Pot is designed to lock into place during the cooking cycle.
However, some people are tempted to open it up before the food is done.
JUST DON’T! DANGER DANGER!
Seriously? Today’s modern pressure cookers’ safety features mean that it’s impossible to open your pot in the middle of cooking. So not to worry if you’re tempted!

How to know your Instant Pot is Pressurized
Look toward the back of your Instant Pot lid and find the float valve tip. (Mine is red on my 8-quart Instant Pot Duo 7-in-1.)
When the Instant Pot valve tip is up and lined up with the black plastic, your Instant Pot is fully pressurized at a high pressure of 11-12 psi. A safety feature prevents the lid from being opened.
Once the valve is down, it’s safe to open your Instant Pot.
When using the manual setting, it takes about 20 minutes for the pressure to build up to 11-12 psi.
Some electric pressure cooker models have more than one pressure release valve – the one on the lid and another on the bottom of the pot. These valves allow steam from the food to escape during the pressure-cooking process.
Read this if you're wondering why your Instant Pot isn't heating or working.
Instant Pot Natural Release vs. Quick Release
Natural release and quick release refer to two different methods of depressurizing an Instant Pot after cooking time is over.
The natural release function lets the pressure inside the pot come down gradually on its own.
The opposite of natural release is quick release, which is performed by opening the steam release button to depressurize the pot more quickly.
Which option you use depends on what method the recipe calls for, either natural release or quick release.
To learn more, read: What is Natural Release vs. Quick Release on an Instant Pot?
There’s also a third option, Intermittent Pressure Release, which combines the two methods.
What is Natural Release?
Natural Pressure Release is also called Natural Release or NPR. This is when you allow the pressure to go down on its own.
The Natural Release method can take up to 30 minutes, depending on what you’re cooking. After the time is up, you vent any remaining pressure by turning the steam release handle to the venting position.
Natural release is recommended for recipes like stews, soups, broths, and stir-fries. These dishes usually take longer to cook and/or use a high volume of liquid.
While Natural Release is the slowest pressure release method, it has advantages like retaining flavor and tenderness in various cuts of meat.
It’s also an excellent way to avoid hot liquid from spurting out of the steam release valve when making Instant Pot potato soup, beans, grains, and recipes with a large liquid volume or high starch content like congee and porridge.
When should you use Natural Pressure Release?
You should use the Natural Release method in recipes that require food to continue cooking.
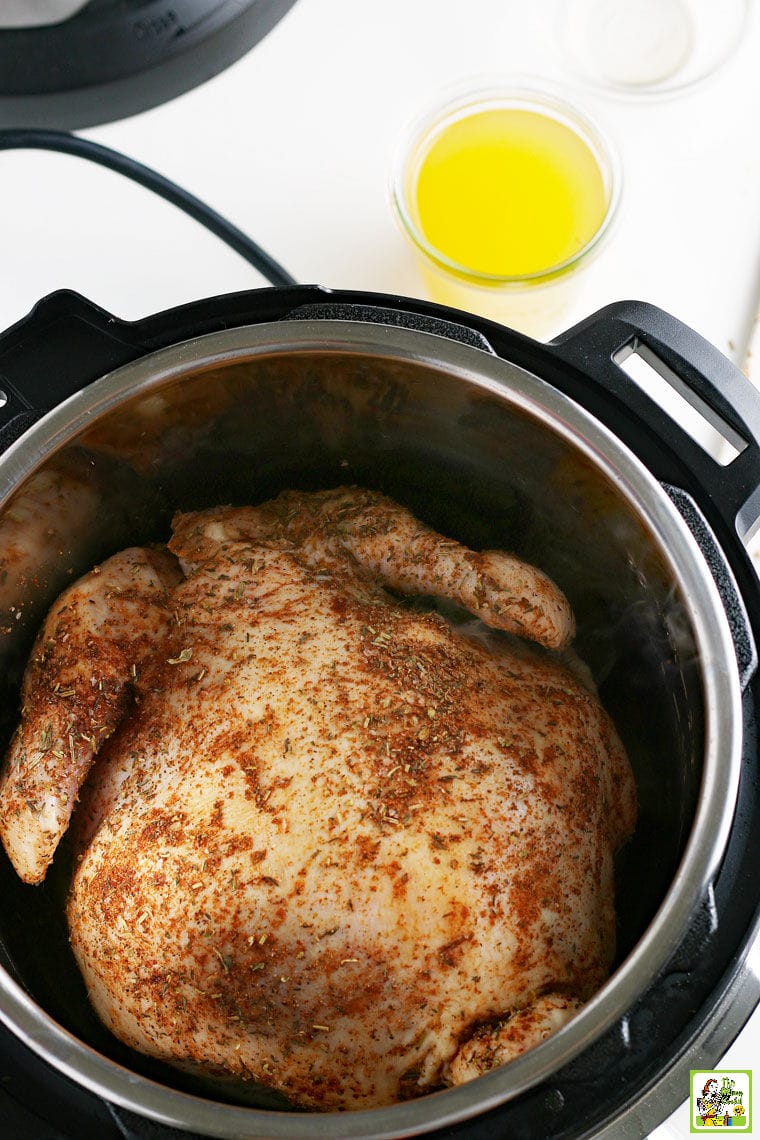
With the Natural Release method, the skin on foods like a whole chicken or turkey breasts stays intact since the pressure and temperature go down gradually, and there’s less movement in the Instant Pot.
This method is similar to allowing meats to rest after they’ve roasted. This keeps meats juicy, tender, and flavorful.
What is a Quick Release on an Instant Pot?
With a quick release valve, the pressure is released almost instantly.
Since a Quick Release stops the cooking quickly, it’s used in recipes where you want to avoid overcooking the ingredients.
This is best when cooking vegetables such as asparagus, bok choy, broccoli, or sweet potatoes.
Quick release is also suitable for delicate foods like hard-boiled eggs, seafood, and fish.
How to do a Quick Release
Just turn the steam release handle on the top of the Instant Pot from the sealed position to the venting position.
Once all the steam is released, you can open your cooking pot.
Safety precautions
The Quick Pressure Release method is safe if you take proper precautions.
Remember that the steam coming out of your Instant Pot is extremely hot. So keep the kids away from the steam.
And make sure your hands, face, eyes, and skin are away from it, too.
If you need to touch the hot lid, use an oven mitt, kitchen tongs, a dry kitchen towel, or a wooden spoon.
I keep my Instant Pot next to my kitchen sink. That way, the steam is released over the sink. (I also do this with my rice cooker.)
You should also move your pressure cooker away from walls, low cabinets, and windows. You don’t want the hot steam to damage the finish or paint.
How to do the Intermittent Pressure Release Method
The intermittent pressure release method is used to prevent the formation of foam. It’s also used so that foamy foods and foods with high starch content like congee, rice, grains, and pasta don’t burn and stick to the bottom of the pot.
Intermittent pressure release is a technique that involves releasing the pressure gradually over several minutes.
In this process, you open and close the pressure release valve in short intervals. This also prevents any foam or liquid from escaping.
What to do if your Instant Pot lid still won’t open
Are you unable to open your Instant Pot lid after the pressure has released and the metal pressure valve is down?
Then you may have a problem with your machine. Here are some things to try:
1. Do a (or another) Quick Release. Then wait 10-15 minutes. This gives your Instant Pot time to cool down a bit. And maybe it won’t give you a false reading in case there was some food stuck in the valves or a problem with the float valve tip.
2. Check to see if the silicone sealing ring is stuck. This requires you to apply additional pressure to the lid to unstick the ring.
If the ring was stuck, give it a good clean and remove any bits of food. You may need to replace it if it shows signs of damage.
3. Check the float valve tip to ensure it isn’t dirty or caught on something. Use a knife or clean screwdriver since it may be hot.
4. Still have problems? Contact Instant Pot customer service at 1-800-828-7280 Monday to Friday, 9:00 am – 4:00 pm ET.
Do an Instant Pot water test run
New to pressure cooking? Then you may want to practice doing a Natural Release and a Quick Release by doing a water test with a cup of liquid or two.
The water test ensures that your new pressure cooker is working correctly. (Sometimes, you get a defective product and can return it for a refund or replacement.)
Plus, running a test helps familiarize you with how to use your new appliance.
Not sure what model to buy? Read: What Size is Best? 6-Quart vs. 8-Quart Instant Pot
How to do an Instant Pot water test
1. Plug your Instant Pot into the wall. (It’s a good idea to move your pressure cooker by the sink and away from cabinets and walls. That way, hot steam goes into the sink.)
2. Place the stainless steel inner pot in the base unit.
3. Add 3 cups of cool water to the inner pot.
4. Check that the silicone ring is fitted correctly into the Instant Pot lid.
5. Place the lid on the Instant Pot and turn it clockwise until it is in the closed position. When plugged in, the Instant Pot chimes when you close and open the lid.
6. Make sure to turn the steam release valve to the Sealing position. (An Instant Pot Ultra automatically sets the steam release to Sealing when the lid is closed.)
7. Press the Pressure Cook or Manual button. (Instant Pot models have either control. They do precisely the same thing.)
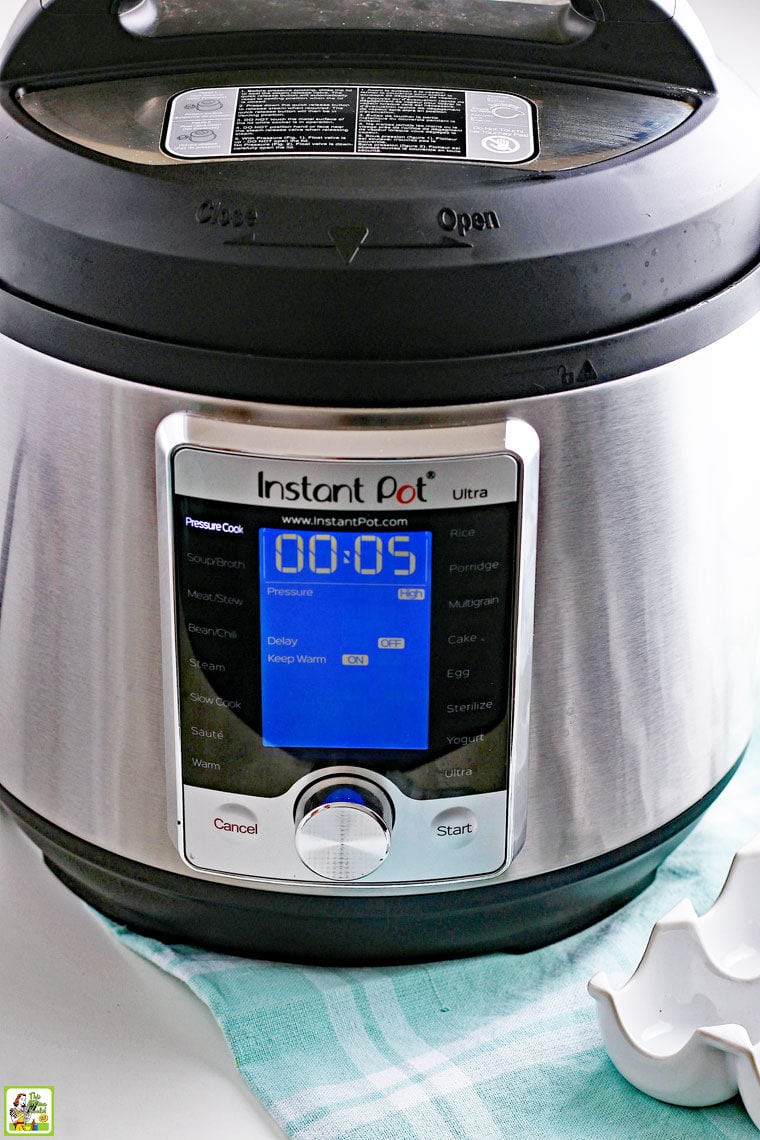
8. Use the +/- buttons to set the time to 5 minutes. Wait 10 seconds for the Instant Pot to display On to show that the cooking cycle has begun.
9. Your appliance will take up to 15 minutes to reach pressure. Once it does, the float valve pin will pop up, the Instant Pot will beep, and cook time will begin to count down from 5 minutes.
It’s normal to hear hissing sounds and some steam escaping from the steam release valve or float valve hole while the pressure builds.
If you notice a plastic smell the first time you use your Instant Pot, don’t panic. This is also normal and shouldn’t happen again. (Best reason to do a water test, in my opinion!)
10. Your Instant Pot will beep once the 5-minute cook time ends.
11. It will now switch to the Keep Warm setting mode. The display will begin to count up minutes, which comes in handy if you want to figure out the number of minutes of natural release.
12. When doing the quick release method, wear an oven mitt, or use tongs or a cooking spoon to carefully turn the steam release valve to the venting position. Remember to keep the jet of steam away from your skin and face.
13. When the float valve drops down, it’s safe to remove the Instant Pot lid.
Problems with the water test?
- Did you turn the steam release valve to the sealing position?
- Check to make sure the silicone ring is fitted correctly onto the lid.
- If neither of these was the problem, contact Instant Pot customer service for further assistance by phone at 1-800-828-7280 Monday to Friday, 9:00 am – 4:00 pm ET.
Looking for easy starter recipes?
If you’re looking for easy pressure cooking recipes, check these out:
- The Best Easy Instant Pot Pulled BBQ Chicken
- Best Instant Pot Baked Beans Recipe
- Easy Instant Pot Country Style Ribs
- Easy Instant Pot Ham Recipe with Sugar-Free Glaze (Keto and Low Carb)
- Amazingly Easy Instant Pot French Dip
- Spicy Instant Pot Jambalaya Recipe
- Amazing Instant Pot Spaghetti Recipe
- Instant Pot Chicken and Rice Recipe
- Instant Pot Orange Chicken Recipe
Which is your favorite, your Instant Pot or your slow cooker?


